Showing posts with label easy. Show all posts

Saturday, 1 February 2014

V is for Victory Rolls! - Tutorial

Okay so this is something I've only really just started doing myself, I've always been kind of 'scared' of doing victory rolls, just because they looked super complicated and I'm absolutely useless with my hair (and my hair never wants to do anything I want it to do!). You'll have to excuse how messy they are, I did kind of do them really quickly as I've had a tonne of English assignment work to do for college and its important that I got that done first!

 However, I've been asked by a few people on how I do my victory rolls... Please bare in mind I've watched a tonne of YouTube videos, read many blog posts and even asked someone who does them everyday for tips on how to do mine simply and perfectly.

What You'll Need!
Hairbrush
Hairspray
Rat tail comb
Lots of Bobby Pins/Grips
Bows (optional)

Step 1 Section your Hair Using your thumbeand first finger you want to section off the hair you want to put into a roll. Put your thumb by the top of your ear, your finger at the top centre of your forehead and scoop the hair into your hands. The picture on the right demonstrates what I mean if it sounded super complicated!

Step 2 Back comb This step is super important and you MUST do this properly, for a neat and tidy roll. Using your rat tail comb, back comb the back of the hair, but back comb to the point the hair stands up on its own, back-combing gives the roll its thickness and the sturdiness for it to stay standing - just like mine on the left. This step is crucial!! 

Step 3 Time to Roll Now you are going to roll the hair, take the ends of your hair and make sure they all come together nicely. Now if you struggle with putting your hair into a roll then you can use curlers/straighteners to just curl the ends of your hair. Now you have to decide whether your rolls will be in the centre or just off to the side, and then roll your hair into place. Take a pin and secure it down (don't worry if hairs are sticking out a little and the hole in the roll isn't there, we will fix this in a few steps!). I normally use two pins and make sure they cross over each other, one being put in from the front the other from the back and make sure its super secure. 


Step 4 Secure Adjust & Spray Now you want to hairspray your roll, I normally spray mine from the back so the front stays nice and polished and neat. Now is when you can sort out the problems, using a rat rail just go round in a circular motion in the middle of your roll, this will help make the hole visible and will push your hair up into the rest of the roll, using hair spray to make it damp inside so that the hair will lay amongst the roll. 


Step 5 The Sides The sides of my hair normally like to be naughty and poof out, so I normally use either spray or wax just to flatten them down and make sure they don't move, if using wax make sure you warm it up a lot in your hands and then going from the bottom (near your ears) pushing up towards the roll to make it stay. 

Step 6 Repeat the steps on the other side. Once you have done this hair style a couple of times you get better and quicker at it. Maybe try doing it a few times when staying in the house just so you can practice!

Step 7 Final spray of hairspray from a distance and you are done. If you want you can add a bow in the middle like I do, just for that little cute effect!

I know mine don't look fantastic in this picture but check out first OOTW of 2014 (here) and you can see them done properly and neatly! 

Well I hope this was helpful for you! I tried my best at making it as simple as possible!

Lots of Hugs

Emma Victoria

xoxox

Tuesday, 17 December 2013

Blogmas Day 17: Emma Bakes Simple Shortbread!

Today's video is a baking tutorial! I have never ever done a baking video or tutorial video on my YouTube before so I thought I would! I also have the recipe below if you want to try and make the Shortbread yourself! This is pretty much fool proof - not even I could screw it up and I'm really not a baking pro!


RECIPE:
100g of Butter
100g of Plain Flour
50g or Caster Sugar
50g Semolina

1. Put your oven on 160C (lower if you have a fan oven). Blitz in a food process of bring all the ingredients together in a bowl using your hands (Don't forget to scrub them!!)

2. Roll out your dough onto a floured work surface and choose your cookie cutters. You want your dough about 1/4 to 1/2 inch thick and then cut with your cutters.

3. Then get a tray with greaseproof paper to put your shortbread on and bake for 20-25 minutes.

4. Leave to cool and then sprinkle sugar on top and transfer to a wire rack.


5. Voila - its time to eat!

ONLY 8 DAYS TILL CHRISTMAS!

Lots of Love

Emma Victoria

xoxox

Tuesday, 10 December 2013

Blogmas Day 10: Make-Up; Retro Christmas

Okay so I thought I'd do a simple retro style Christmas themed make-up today - its super simple and easy to achieve so nothing too complicated! 

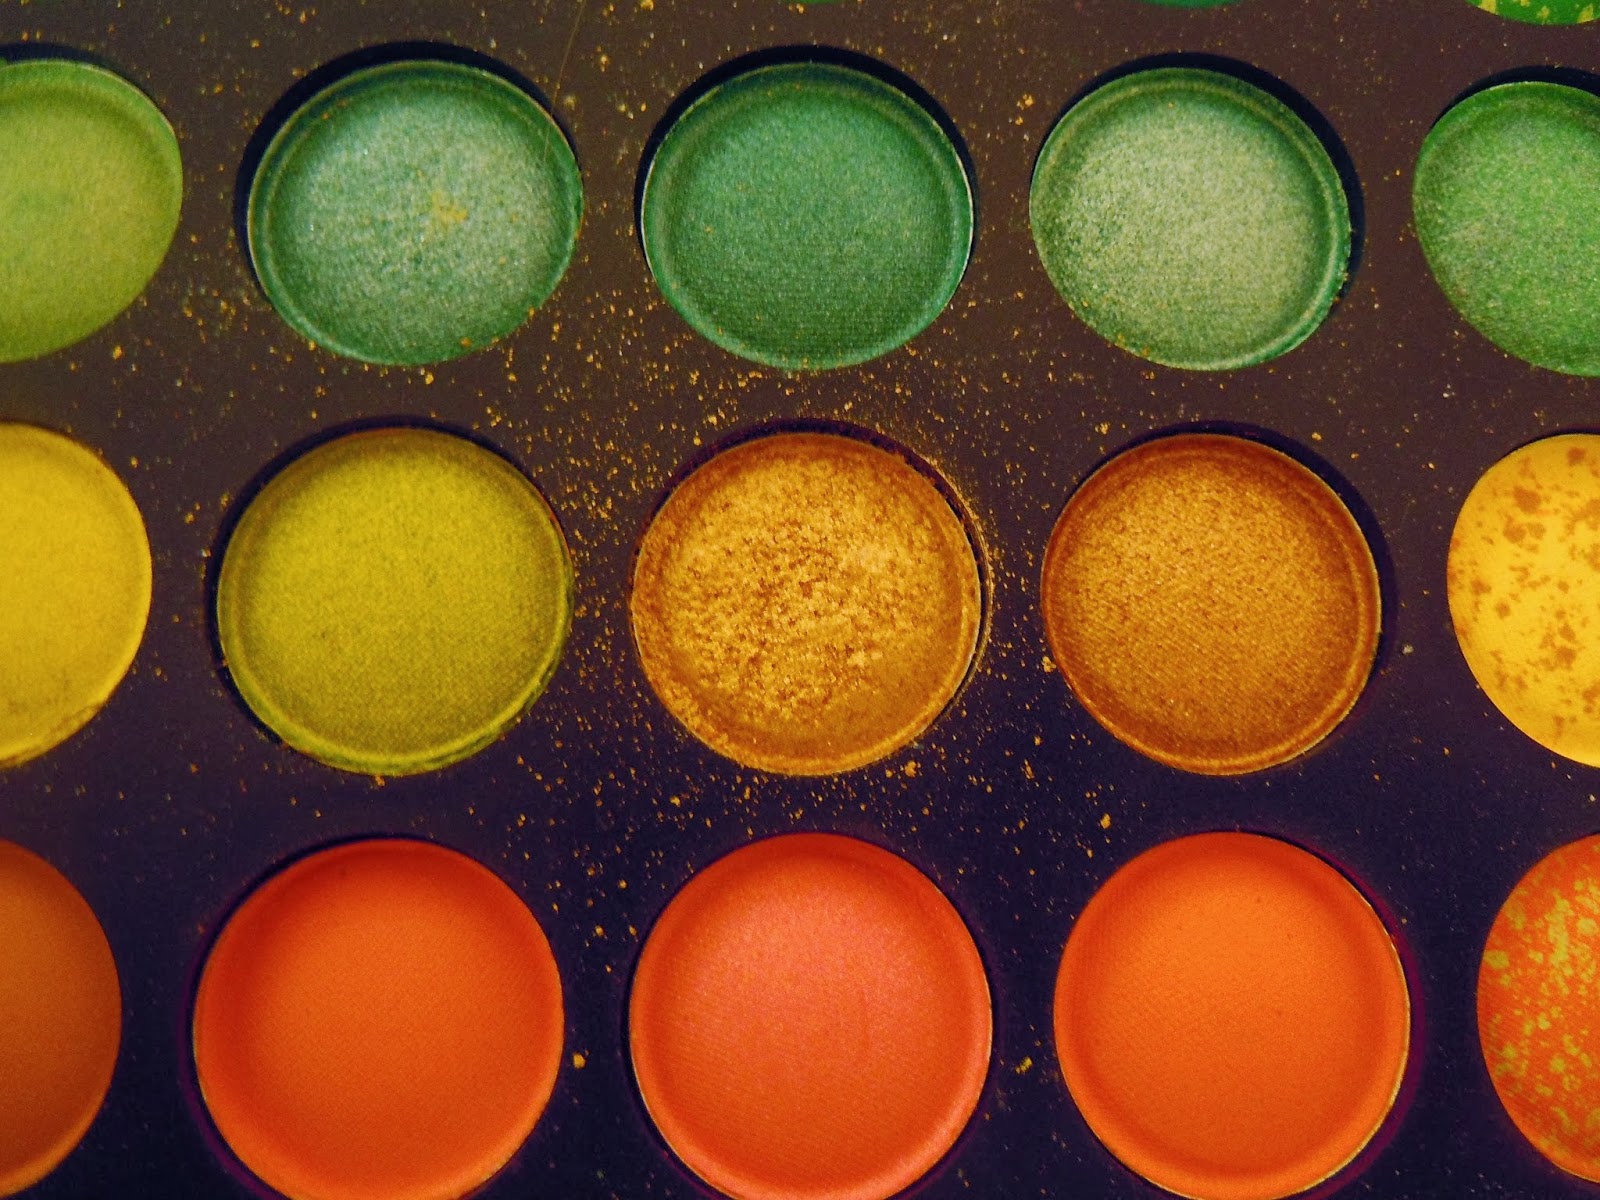
 I used my new Scandaleyes Mascara, my big eyeshadow palette using the Shimmery Gold, Pine Green Shimmer and Ruby Red eyeshadow. I also use my Rimmel 'Glam Ice' white eyeshadow as a base! I use my Victoria Jackson eyeliner in black, my rimmel lip liner in red dynamite and my Barry M lipstick in shade 158 (a red with a pink undertone). And last but not least my Barry M glitter liner in Gold!

Step 1 Prepare your Face
First of all you just want to do your basic face routine, such as spot creams, moisturisers and then foundation. I use my Rimmel 25 Hour liquid foundation and then use my Natural Collection pressed powder in 'warm' to finish my skin. I then put on my eye primer ready for the next step...

Step 2 Your Eyes
 You then want to start applying the white eye-shadow as a base coat, and then blend till this is only slightly visible. I then begin with adding the gold (the one in the middle of the picture!) into the corner of my eye and leave to blend later. I then go ahead and add my red eye-shadow the rest of my eye leaving a tiny gap between the gold and red to then blend together. I recommend blending from the corner of your eye outwards, this just makes sure the red doesn't go into the gold. After blending I take a thin eye-shadow brush and use the shimmery green eye-shadow (much like the colour of a Christmas tree) into the crease of my eye and blend. I then add a thin line of winged eye-liner as close and as thin as possible for a minimal effect on your eye. don't worry if its too messy just try to keep the line as straight as possible. Then you can use the glitter eye-liner on top for a super cute Christmas effect!


Step 3 Your Lips
I use my Rimmel lip liner in 'Red Dynamite' and make my cupids bow super emphasised. I take the lines just above my natural lip line just for a super effect. I then colour the rest of my lips in and add my Barry M Lipstick.. And then you are done!!

Well I hope that was simple enough!
15 days till Christmas!

Lots of Love

Emma Victoria

xoxox

Wednesday, 13 November 2013

OOTW: No Effort Required

I know, I know, its been what 2 weeks or so since I've done an OOTW - but I have felt so low these past 2 weeks, and I just did not feel in the mood to do anything including blogging. But now I am finally back on track, I am doing OOTW's again and scheduling posts for when I can't get to post due to the amount of work I have! Anyway - what does the title mean? Well, this week has been a lazy kind of "can't be bothered" week, so I just went for a simple neutral coloured look...


Oversized Stone Cardigan, New Look - £12.99

White Vest, Next - £4


Fluffy Socks - £2

Coral Tie Headband, New Look - £5


Who's excited for a CHRISTMAS GIVEAWAY!?!?!!?! Details will be released this sunday, and what you may be in for a chance to win! 

Lots of Love

Emma Victoria

xoxox

Monday, 28 October 2013

Pumpkin Carving Part 1 (100th Post!)

I thought before I carve my pumpkins on Wednesday ready for Thursday I would show you the pumpkins I carved last year with my Mum, Brother and his carer. On Wednesday I will also be blogging this years Pumpkins which will be part 2 of this post! Below will be the three links to my three carvings from last year. I'd probably say the hardest one to carve was the Smiling Jack O'Lantern which took me and Tor an hour and 45 mins to carve because, well we are beginners and we didn't have the right tools. I carved the Shocked Pumpkin face on my own and this only took me around 40 minutes. My mum carved the ghost by herself and cause I'm pretty sure she is like an art pro it only took her 20 minutes. I can't find a stencil for the shocked pumpkin but its really quite simple you could probably just draw it freehand!


Smiling Jack Stencil


Ghost Stencil
Happy Carving! I will show you my stencils which I have used on Wednesday Evening! 

Love Emma
xoxo

(P.S - I cant believe I've reached 100 posts - and this month I also reached 10,000 views! Super love that you appreciate my blog!!)

Friday, 25 January 2013

Candle Crazy!

Hello my Cupcakes! Some people who know me personally probably know I'm very obsessed with candles! I always find that candles give you that warm winter'y snug feeling. I have a very big bedroom, which is also a combined living space, and if you don't get the feel of the room right then it can feel very cold and boring. Now I am currently through a transition period in my room as I am getting new furniture and re-jigging all my stuff for a whole new style, which I will show to you when it is complete! Currently, as you can see in the picture my bed is against the back wall of my room where my door is, this will be changing! I always feel candles make me feel so much happier and I believe they always calm me down and relax me if I have had a stressful or tiring day. 
In the image on the left if 3 of the main candles I have in my room. The one on the far left is my Tropical glass pot candle with a lid. I bought this from Morrisons for a lovely £1.50. The scent isn't too strong or too weak. I have quite a big bedroom and the smell actually does surround the room, even when its the only candle I light! The middle candle is another one from Morrisons, its unscented and mainly use this one for photography projects and photo shoots  This pillar candle is usually on my draws with my heart dish and 2 photo frames (as you can see on the upper right!). The stand for the pillar candle is from Sainsbury's; I bought it for about £5 many years ago, but you could probably find cheap candle holders in a 99p shop or online! The candle on the right is, again, from Morrisons; this candle is another scented candle which I got in a deal pack with 24 tea lights both Strawberry and Pomegranate scented. The smell from these are absolutely outstanding! I adore the smell of these new candles, I got the small pillar candle and tea lights for an outstanding £1.50... This made me very happy! I buy loads of my candle stuff from Morrisons, they are cheap and they are still fantastic.
In the image on the left is off my cute little star candle holders which I bought for 50p each in yes, Morrisons! These have to be one of my favourite finds! Currently I am using up all my tropical tea lights from Morrisons for a pack of 24 tea lights costs you about £1! On the image on the right I have the same tea lights, but these candle holders I bought about 6 years ago from Partylite. I went to a friends mum's party and she had this company round, I also at the time bought some Black Cherry candles (these had a really deep but beautiful aroma to these candles but never got the chance to buy some more!) These tea light holder's are really unique and stunning, in the bottom of 2 of them is an orange glass look at the bottom of them and the other 2 is more like a deep purple glass effect on the bottom, they are also tear dropped shape, which works so well!


Emma
xoxo

Saturday, 19 January 2013

Snow Make-Up!

So when we have snowfall in the UK, the whole country usually goes into a meltdown, but who said you still can't look fabulous even if you do have to abandon your car or walk your dog?! When we have the snow, I have a very simple and quick make-up routine which I like to do! 

Step 1: Apply any facial products which you might use for acne or spots, always put these products on under your make-up, otherwise you will get no benefit from the usage of these products! As you can see in my other blog post 'Attack Those Spots!' I explain about the products that I use and how they benefit me personally! 


Step 2: Next apply your foundation, I use 2 liquid foundations by Rimmel. The first one I use is the 'Stay Matte' foundation in a shade 200 Beige. I usually use this as a base coat for my foundation. I usually spread my foundation very thinly onto my face and neck. The second foundation that I use is the 'Lasting Finish' foundation in 200 Beige again. This shade compared to the Stay Matte foundation is a little more darker, and I next time I buy this product will probably go one shade lighter. Again I put about a large pea sized amount of this foundation onto my fingertip and then rub this gently onto my face.


Step 3: I do love pastel shades in a lot of my stuff, and that includes some of my eye shadows! For my basic snow make-up I use the Natural Collection 'Mermaid' eye shadow. I am an absolute sucker for NC make-up, its cheap and brilliant quality! I also bought an eye shadow and a small blending brush from Superdrug for about £2, which was a bargain! I use the eye shadow brush and collect a small amount on my brush, I take the eye shadow up to the top of my lip where it creases, and then blend this in so there is no excess eye shadow dusting into your eyes! 


Step 4: Now you would apply some mascara, you don't want too much as your eyelashes may clump or bunch together. I usually use a Victoria Jackson Mascara, but any mascara will do! 

And then you are done! Here is an image of myself with the finished look, it is basic, and very simple, and takes hardly any time at all! You can also add a nice lip gloss, I usually use the Maybelline 'Watershine Gloss' in the shade named 'Cutie Pie' as this has a tint of pink and lasts for ages when applied!


Emma
xoxo