Showing posts with label tutorial. Show all posts

Saturday, 7 June 2014

Glitzy Secrets Review & Make-Up/Hair Tutorial

I was contacted a couple of weeks ago about doing this review; and I just couldn't say no! This is
something I could not pass up so replied and sorted out the details. I'm splitting this post into 2 sections, the first being the review, the second being a Hair and Make-up Tutorial so you can achieve the elegant Grace Kelly Look yourself.

Review
This review is also inspired by the release of the Grace of Monaco biographic film (you can read Glitzy Secrets blog post all about Grace Kelly here). So after having a little look on their website, I absolutely fell in love with the Vintage Ribbon Head Band, it was gorgeous and elegant. 

The item is beautifully designed, and the elegant diamonds add a beautiful dimension when a light shines on the headband. This headband genuinely makes me feel like a princess. The beautiful design is set upon a wire headband, which is quite comfortable, it doesn't have any groves so I'd recommend some bobby pins to secure the head band in place if you plan on wearing it for a long period of time. The item is a little heavy, so if you decided to do maybe a beehive sort of style hair you could balance the headband on that to take a little weight off, however it isn't so heavy that you want to take it off. 

I got TONNES of compliments when out at the Brighton Vintage Fair last weekend, a lot of people said I looked beautiful and where asking where I got this beautiful headband from. I mainly chose this one due to the elegance and the curves of the piece, I wanted something a little different that wasn't straight and would look gorgeous and this product lives up to it all.

Its also very heavy duty, when sorting my hair out, my friend accidentally dropped the headband when passing it to me, but it was absolutely fine, although I wouldn't suggest dropping it, ours was an accident!! 

Overall I love this headband. I would recommend to anyone, whether it be for everyday, for an event or even for a bride getting married to get one of these hair accessories from Glitzy Secrets - you definitely get your money's worth and the quality is absolutely amazing!

Hair & Make-up Tutorial

With the headband I decided to go for a very traditional look, that of which was iconic with Grace Kelly's look. She often had the bottom of her hair curled and the top straight, and brushed backwards.

1. Naked Face. So basically you want to start with a naked face, and clean hair, I normally set my hair to get curls but for this tutorial I'm curling them with clean hair, if your hair is slightly silky like mine then just use some dry shampoo for texture if you prefer, however I opted for none. 

2. Pin Your Fringe (Optional) I wanted to make the headband stand out as much as possible, so I decided to pin my fringe back, I just back combed my fringe and pined it back with 2 bobby pins in a cross on top of my head, I also use this cross to help secure the headband later on. 

3. Curl First of all take about a 1/4 of an inch of hair, I decided to have thicker curls for this look as this was much more iconic of the Grace Kelly look.When curling only curl about half of your hair (as shown) to create this look - You will get thick curls which you can choose to brush out for extra volume at the bottom of your hair.

4. Seperate Now you want to just brush through the girls with your fingers to separate the curls to create a "bush" of curls on the bottom of your hair. 

5. Make-up I've gone for a very simple and elegant look for this style. I used my Collection Lasting Perfection foundation in Ivory for a base on my skin. For my eyes I used 2 eye-shadows, one being the Natural Collection eye-shadow in "Candyfloss" blended across the whole eyelid, and a champagne coloured eye-shadow from my palette again across the whole lid and blended to create a simple nostalgic look. I used a pencil eye-liner, sharpened to a point and drew a thin line on the top of my lid, just going to the point of my eye and stopping; I then went over the waterline at the bottom of my eye and met the two lines of eye-liner up in the corner of my outer eye. I then added my Rimmel Scandal-eyes mascara and to finish used my Maybelline Watershine Lip Gloss in "Cotton Candy".

6. Final Touches. I then add my headband, pushing the hair from the side of my face back behind my ears, I then secure the headband at the sides hiding the pins inside the curls. Using the pins on top of my hair I then secure the top of the headband to make sure it doesn't slip or fall down. And you are done! 

When I actually completed this look and looked in the mirror, I genuinley cried. I've never looked more beautiful in my whole life, and I've never cried about the way I look in a positive way. This headband and style would be something I'd consider wearing if I were getting married - the headband's elegance and beauty just adds a gorgeous yet simple effect on the whole hairstyle.

You can buy the Vintage Ribbon Headband here for £32 and much more choice of other accessories over on the Glitzy Secrets Website.

Lots of Love

Emma Victoria

xoxoxoxoxoxoxox

Tuesday, 17 December 2013

Blogmas Day 17: Emma Bakes Simple Shortbread!

Today's video is a baking tutorial! I have never ever done a baking video or tutorial video on my YouTube before so I thought I would! I also have the recipe below if you want to try and make the Shortbread yourself! This is pretty much fool proof - not even I could screw it up and I'm really not a baking pro!


RECIPE:
100g of Butter
100g of Plain Flour
50g or Caster Sugar
50g Semolina

1. Put your oven on 160C (lower if you have a fan oven). Blitz in a food process of bring all the ingredients together in a bowl using your hands (Don't forget to scrub them!!)

2. Roll out your dough onto a floured work surface and choose your cookie cutters. You want your dough about 1/4 to 1/2 inch thick and then cut with your cutters.

3. Then get a tray with greaseproof paper to put your shortbread on and bake for 20-25 minutes.

4. Leave to cool and then sprinkle sugar on top and transfer to a wire rack.


5. Voila - its time to eat!

ONLY 8 DAYS TILL CHRISTMAS!

Lots of Love

Emma Victoria

xoxox

Tuesday, 10 December 2013

Blogmas Day 10: Make-Up; Retro Christmas

Okay so I thought I'd do a simple retro style Christmas themed make-up today - its super simple and easy to achieve so nothing too complicated! 

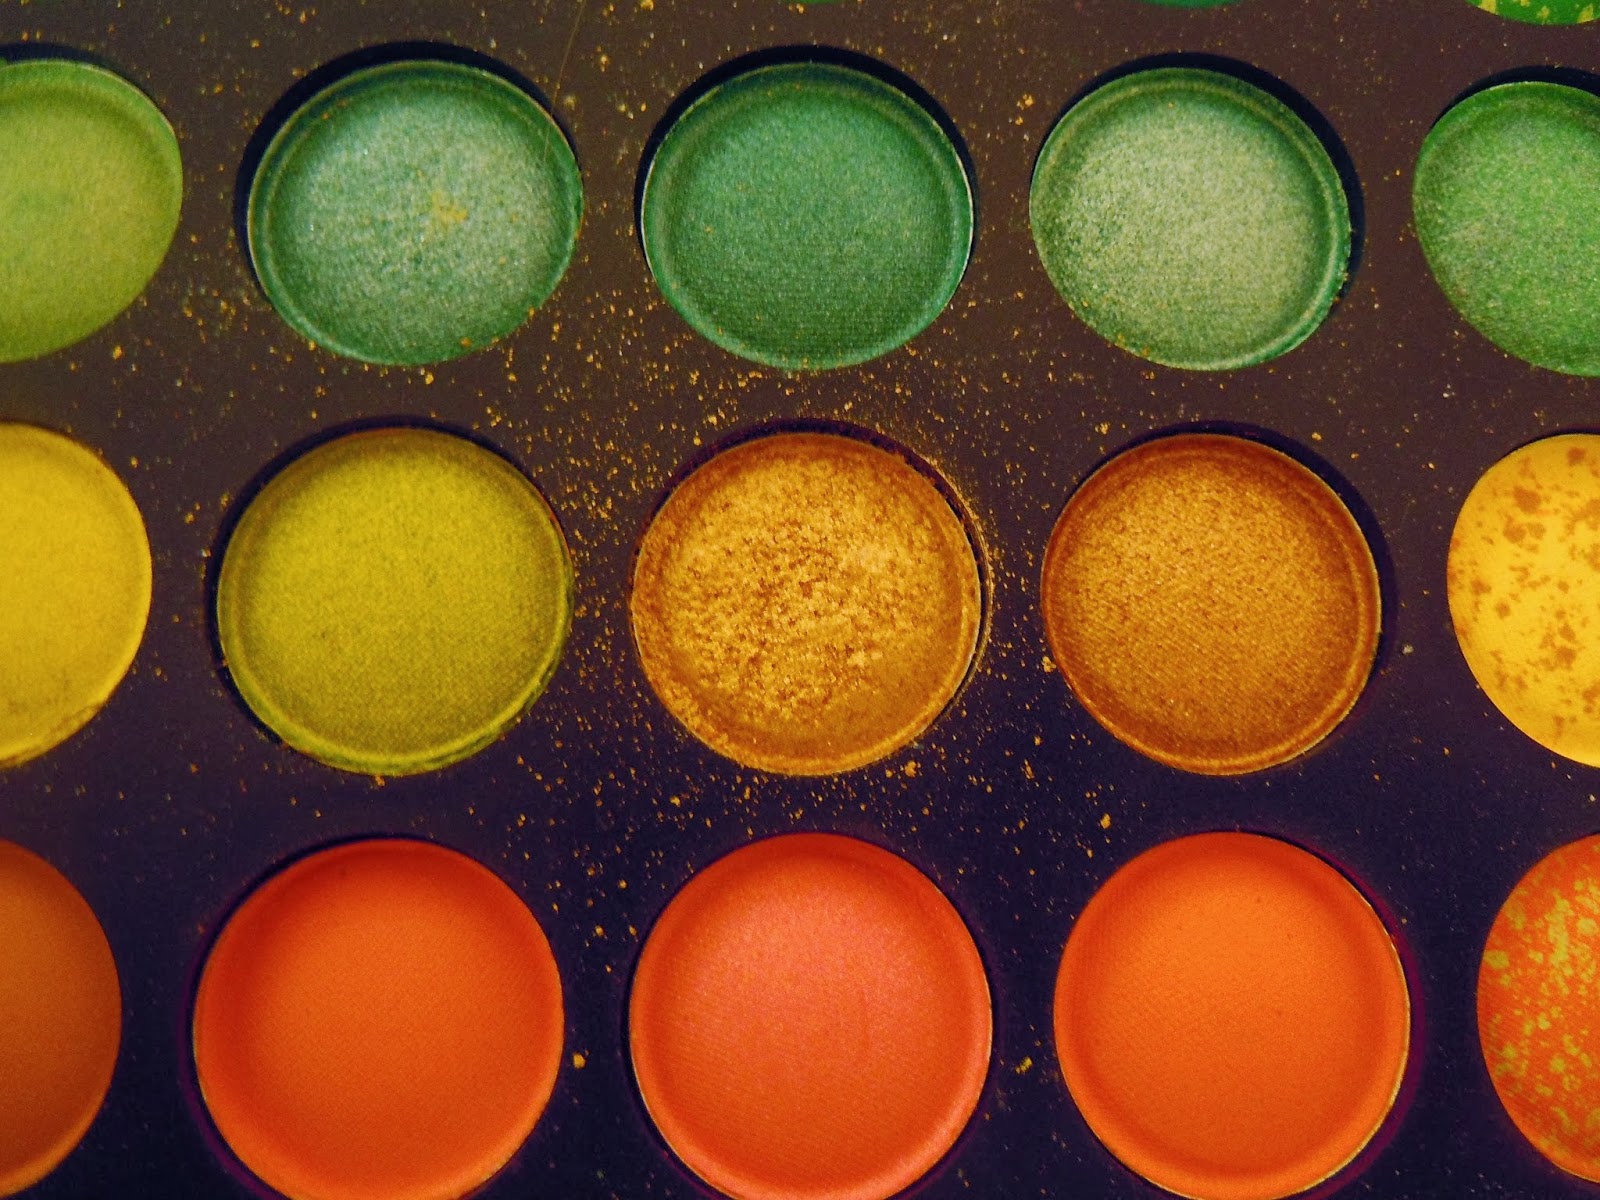
 I used my new Scandaleyes Mascara, my big eyeshadow palette using the Shimmery Gold, Pine Green Shimmer and Ruby Red eyeshadow. I also use my Rimmel 'Glam Ice' white eyeshadow as a base! I use my Victoria Jackson eyeliner in black, my rimmel lip liner in red dynamite and my Barry M lipstick in shade 158 (a red with a pink undertone). And last but not least my Barry M glitter liner in Gold!

Step 1 Prepare your Face
First of all you just want to do your basic face routine, such as spot creams, moisturisers and then foundation. I use my Rimmel 25 Hour liquid foundation and then use my Natural Collection pressed powder in 'warm' to finish my skin. I then put on my eye primer ready for the next step...

Step 2 Your Eyes
 You then want to start applying the white eye-shadow as a base coat, and then blend till this is only slightly visible. I then begin with adding the gold (the one in the middle of the picture!) into the corner of my eye and leave to blend later. I then go ahead and add my red eye-shadow the rest of my eye leaving a tiny gap between the gold and red to then blend together. I recommend blending from the corner of your eye outwards, this just makes sure the red doesn't go into the gold. After blending I take a thin eye-shadow brush and use the shimmery green eye-shadow (much like the colour of a Christmas tree) into the crease of my eye and blend. I then add a thin line of winged eye-liner as close and as thin as possible for a minimal effect on your eye. don't worry if its too messy just try to keep the line as straight as possible. Then you can use the glitter eye-liner on top for a super cute Christmas effect!


Step 3 Your Lips
I use my Rimmel lip liner in 'Red Dynamite' and make my cupids bow super emphasised. I take the lines just above my natural lip line just for a super effect. I then colour the rest of my lips in and add my Barry M Lipstick.. And then you are done!!

Well I hope that was simple enough!
15 days till Christmas!

Lots of Love

Emma Victoria

xoxox

Thursday, 31 October 2013

Halloween OOTW; Dead Slutty Barbie Doll

I'm currently writing this in between the door knocking with children asking me for sweets! I'm currently dressed as a super quick dead 1940's housewife before I get into my final Halloween outfit for the year which is a dead Slutty Barbie Doll. I'm doing this costume as a joint effort with my friend Ricky who is dressing up as a dead Ken Doll to the all night party we are going to later (11.30pm to be precise  which means I have an hours turn over to change and turn into Barbie! I've basically done the majority of my make-up for Barbie apart from the under eyes! The wound is exactly the same which I'm using for the Barbie outfit! 

Make-Up Tutorial

Step 1 Eyes For the first part I just did my normal make-up routine with foundation and concealer and caking it on for that doll type effect. I then moved onto my eyes. I began with applying my Rimmel White Eye-shadow on my eyelid to just above the crease and then blended. I then moved onto my big eye-shadow palette and used a hot pink across my whole eye lid going above the crease, then applying a dark shimmery grey into my crease and blending. I then added a long winged eye-liner  and extended my hot pink eye-shadow to have a thick wing above the wing of my eye-liner. For the effect of bigger eyes I applied more eye-shadow primer to the bottom of my eyelid and used a white liner for the waterline of my eye. Then apply a thick coat of white eye-shadow and I decided not to blend this for a more effective white. Then apply a thin line of black eye-liner in a semi-circle shape to create the extension of the lower part of your eye. 

Step 2 Lips I used my Rimmel lip liner in deep plum red and I made a sharp triangle shape at the top of my cupids bow on both sides. On top of my lip liner I applied my new Kate Moss Lipstick in shade 107 which is a plum red sort of colour.

Step 3 The Wound  For the hole/wound on my face I basically just used toilet paper, liquid foundation, red and grey eye-shadow, left over false eyelash glue, Vaseline and pink food colouring. I began with just plastering on the false eye lash glue and then splitting toilet paper into tiny little pieces and sticking them on before the glue dries slowly layering up the toilet paper - then leave to dry. You then want to get a foundation brush or an old blush brush and pour out a little of the liquid foundation onto your hand, gently dab on the foundation and leave to dry again. Once dried make a small hole in the toilet paper and push it up to the sides as though the skin is coming away. Then begin layering up with a dark red eye shadow and grey eye-shadow until you get a dark red/grey effect like old blood. As a finishing touch to make it look as if the wound is real I added a little pink food colouring to Vaseline and applied it to the hole. And you are done!

Costume


Pink Glitter Bow, Beauxoxo - £5

St Michael Pink Polka Dot Playsuit, Charity Shop - £10

Ivory Pearls, Collectif  - £15

Wedges, Simply Be (4 years ago) - £25

I know this was a super quick post but this is the last of my Halloween posts for 2013! I hope you enjoyed it as much as I did! I did a youtube video today as well a little life one so keep an eye out for that too (hopefully sometime tomorrow!)

Lots of Creepy Love

Emma Victoria

xoxo

Sunday, 27 October 2013

Halloween OOTW; Seductive Devil

I know this is 4 days late, HOWEVER, I thought I'd show you guys my outfit I wore to a gig I was part of last night for Halloween! I worked with a few friends from a range of different bands last night for a Halloween music evening! Its a venue, we all know very well as we all play there a lot - and the landlords asked us if we would do a little collab evening with a few seasonal bands for their Halloween evening, so we said yes! We did a lot of cover songs in our own style, and we all came dressed up in different outfits which was amazing! I chose for a seductive devil, just cause its quick and simple and I wont sweat the majority of make-up off when I'm on stage! (I know that's horrible, but in a crowded venue, with lights on you and in costume, it does get rather hot up on stage!).

Make-up Tutorial 
Step 1 Face Preparation - Start off with your normal daily make-up routine. With mine I start off with my Simple and Freederm spot creams,  (if I have bad spots) I apply my MUA Cover & Conceal Natural Concealer and then my Collection 2000 Lasting Perfection Concealer. After I then apply my Miss Sporty So Energetic Foundation. (I know a lot of people tend to use expensive products, but during the summer with the heat my make-up tends to just come off and this foundation is perfect as its light and actually has really good coverage, plus I was going on stage and didn't want my face to come off!). I then apply my Natural Collection Face Powder and then my Prime Magic Eye Primer! You don't want to apply your mascara yet, I tend to do this after applying my eye-shadow.


Step 2 Eyes - I start off with my Victoria Jackson 24/7 Make-up Palette, this is perfect to fit in your handbag too! I begin with the top nude colour just as a base before applying the darker colours when blending. I then apply the darkest colour of the three on the palette across my eyelid but not above the crease (don't worry if you go a little over, you can just blend this in). Before blending, then apply the red colours, I start with a pinky red (the lower circle) as a base and then I applied the darker red (upper circle) and blended together. As a finishing touch I used a shimmery black eye-shadow in the crease of my eyelid just to add that little extra pow! You then want to apply a super thin line of eye-liner I used my H&M Liquid Dipliner. (I also added a light brown/hazel colour to my eyebrows cause mine are never normally visible due to my fair hair. Then you can add your mascara!


Step 3 Lips - Just like in my Rockabilly Zombie costume, I did my lips exactly the same, instead of going out to buy a new lipstick which I will probably not wear again till next Halloween  I just thought I'd get inventive. I used my Maybelline Super Stay 24 Hour Lipstick again and added a shimmery black eye-shadow  In fact I got this cute little palette about 5 years ago in a magazine, I never used it before, and the black is a little smashed but it still works perfectly! After applying your first layer of the lipstick and you've let it dry, add your eye-shadow  only dab the shadow on and make sure too much isn't on your brush. Then apply a top coat and use the setting gloss on top and your done! 

Costume


Devil Horn Headband, Martells - £2

Blood Splattered Bone Clips, Beadesaurus - £6

John Zack Lace Dress (Used as the top), Ebay - £28.99

Old Black Maxi Skirt (Roughly Cut), My Drawers - £ I can't remember!

Black Platform Wedges, Peacocks - £18

Black Belt, New Look - £5


Again, I'm sorry it's late but at least its up! I will be posting 2 pumpkin carving posts this week! Monday's will be last years and the stencils I chose and Wednesday will be the pumpkins I've carved this year!!!

Lots of Love

Emma Victoria

xoxo

Thursday, 17 October 2013

Halloween OOTW: Vintage Broken Doll


Hello again! As mentioned in yesterdays nail tutorial, I had to delay my OOTW to today due to a bunch of health issues that have arisen (my luck being they made me have another x-ray today so this post is still lucky to even be going up today!). I wanted to do something a little more animated instead of super creepy like last time - which I thought was not a bad effort for an amateur!

What You Will Need
Black Eye-liner
Black, 
Glitter Grey, Pink, Blue and Purple Eye-shadow
Katy Perry Fake Eyelashes 'Sweetie Pie'
Maybelline 24Hour SuperStay Lipstick

Step 1 First of all you need to prepare your face as you would for any normal daily routine. For example I started by using a face wash and primer before applying my MUA and Collection 2000 concealers. I then applied my Miss Sporty Blemish Foundation and Rimmel 25 Hour Stay Foundation. Then finish with my Natural Collection pressed face powder in 'Warm'.

Step 2 Next you want to do your eye-shadow  I used pink on the inner side of the eyelid and purple on the outer and blended these going outwards. I then added a glittery grey into my crease just for more effect and then blended.

Step 3 Now onto your eyelashes. I first applied the Barry M Mascara to my eyelashes before applying my Katy Perry 'Sweetie Pie' Eyelashes to the lash line. You want to adjust the false eyelashes so you are comfortable with them and they sit correctly on your eyelid and lash line. 

Step 4 Now you are moving onto the freehand bit! Here you will need your black eye liner. You just need to make a little hollow shape on your face - I opted to put this over the visible spots on my face, perfect thing to cover them! You want a shape like the picture above and also to add lines to show your face is cracked. (Don't forget, old vintage dolls were often made out of porcelain or china, so they were very easily broken!).


Step 5 Now you will need your black eye-shadow - I opted to use eye-shadow instead of the liquid liner, just because I thought it gave more depth and effect. I just used a normal small eye shadow brush and I didn't blend it in either!

Step 6 Now you want to get your eye-liner again and your blue eye shadow and create tear drops - this is optional but I just wanted to add a more creepy and sad effect to this deserted broken doll look! With you eye-liner just create a tear-drop shape, and then fill in the inside with blue eye-shadow (Do not blend!)

Step 7 Now onto your lips, I decided to do mine in a heart shape, just to adopt the whole doll feel. I just used the lipstick wand provided with my Maybelline Lipstick, but if you prefer to use lipstick then you can just use a lip liner to create the shape and add the lipstick.

Step 8 For the final touch, you just need to do your hair. I put my hair in 2 pigtails, as this is the cutesy doll feel, and just back combed my hair for that distorted and mistreated effect of matted hair, I then took my fringe, because its so long I just pushed it back into a swirl and added a bow.

Costume Time!


Baby Pink Glitter Bow, Beauxoxo - £

Antoinette Dress, Lindy Bop - £44.99

Ivory Pearls, Collectif - £15

Mink Jewelled Heels, New Look - Sale £10
Prop - Mums first teddy bear - Its 52 years old and his name is Edward!


Well I hope you enjoyed this post! Sorry it was a day late - good old life getting in the way! I will be doing a life update post as well soon, all the stuff thats going on in my crazy little life! If you have any suggestions for me to blog about then feel free to email or leave me a comment! 

P.S When I hit 50 followers I will be hosting my first ever giveaway, so if you want a chance to enter and possibly win make sure you share my blog and follow, and I will also follow yours back!

Billions of Love and Cuddles!

Emma Victoria

xoxoxo

Wednesday, 16 October 2013

Halloween Nails!

Here is a super quick tutorial on how to get some super cute Halloween nails! They aren't exactly the most complicated thing in the world but they are simple and just add a little finishing touch to your outfit! (Side note - This weeks OOTW will be up tomorrow due to me being at the doctors all morning and then at hospital for the majority of this afternoon!).


Step 1
First of all you want to prep your nails - I always opt to buff my nails to make them all smooth just because it makes the nail polish sit a little nicer on my nails and I also sorted my cuticles out as they seriously need seeing too!

Step 2
After you have prepared your nails, you want to add a red nail varnish, this doesn't have to be done neatly at all as you will be ruining them anyway in a minute! I recommend doing one hand at a time as you have to do the next step not long after applying the varnish. You also only need to do one coat of the red nail varnish.

Step 3
Now you need to get a tissue or a cloth and dab your nails and just completely make them look horrible like in the picture above! 


Step 4
Now you need to add black nail varnish on top, and repeat step 3. Once your nails have fully dried you want to take a clear nail varnish on top to make your nails smoother and to finish the nails off. Leave to dry, clean up around the nails where you have overspilled the varnish and your done!

I know this is only simple, but simple is good right? I promise I will do my OOTW post tomorrow, today has just been so hectic!

Love

Emma Victoria

xoxo

Wednesday, 9 October 2013

Halloween OOTW; Rockabilly Zombie


This is the first costume and make-up OOTW I'm doing for Halloween this year! I'm going to do little odd bits and bobs throughout the month of October for Halloween - so make sure you keep an eye out on my blog!
Today's OOTW is probably the most requested costume, and the first person to mention it to me was my friend Stephanie from Stephanie Maverick (make sure you check out her blog!). My inspiration for this look is from the Sugar Daddy's video 'Teenage Zombie' its my absolute favourite song right now and it just seemed like fate that this happened! 

Make-up Tutorial

Step 1: Primer and White Face Paint
So the first step to achieving this look is to prime your face. I used my normal spot creams, and also Sudocreme as this has a white pigment it helped to just set my face a little bit more with the white face paint. For someone who is allergic to nearly every face paint going, I'm in LOVE with the Snazaroo face paint - this is water based and is very light on my skin and it doesn't make me itch! I also used an eye primer which I got in a make-up set a long time ago and this also just helps to set the eye-shadow on your eyes. I also find with the Snazaroo face paint you may need to add a little water to your sponge, not a lot but just enough so the product is a little easier to apply.

Step 2: Apply Eye Shadow and Liner
The next step is relatively easy all you need is an applicator brush and a blending brush alongside a colour pallet - I will be featuring this palette really soon for a special event so just wait and see. I love the pigments of these eye shadows as they are really bright and colourful even when blended. For my eye-shadow  I decided to use a sort of bruised effect, seeing as I'm a zombie, I'm dead and I'm all stitched and beaten up. The colours in red circles are the colour I used to achieve the 'bruised' effect - I started with the pale greys to just build up on the eye and blended these together. I then started with the palest purple and palest green WITHOUT BLENDING - THIS IS KEY! I then added the darker purple and green alongside the midnight blue, I then vigorously blended all of these together to make a bruised effect - you could add extra green if you want at the end round the crease and outside of your eyelid but that is personal preference - I personally preferred the purple bruised effect myself! I then did a thin winged liner on the eye, not too extreme though!

Step 3: Lips
The next step is to add your lipstick for this look in particular I'd recommend a lipstick such as the Maybelline Superstay 24hour Colour Lipstick in shade 'Keep Up The Flame'. I also added black eye-shadow onto the corner of my lip after doing one coat of the lipstick. I then blended the black eye-shadow into my lipstick and then added another coat of red lipstick on top to just make the black a little less harsh. I then added the complimentary gloss with the product just to make my lips less dry. By putting on a top coat of the lipstick, it helps set the eye-shadow so it doesn't smudge everywhere!

Step 4: Scars, Blood and Hair
Lets start with how to make your own blood. Instead of paying for vampire blood which is always really runny and may not stay on your face that well you can make your own, for mine I use Vaseline and food colouring (I personally use pink and I like the colour of it in comparison to red, but its personal preference!). I took a fair amount of Vaseline and placed it in the little dish (Smirnoff bottle top - cheeky!) and added some food colouring a little at a time, so you can add more if you want the colour to be darker. For the scars I used liquid eye-liner  like I would for my eyes I gently applied the liner to my face and adding stitch lines, I wanted this to be quite big just because they looked so creepy and cool! Now after deciding where you want your scars, you can add your fake blood to the scars, which makes them feel a little more real as if they are bleeding instead of just leaving the scars plain. Details are key! For my Hair, I did a really simple rockabilly look, I tied my hair back into a ponytail and back combed it to make it look messy, and with my fringe I just back combed it and sprayed it into a small quiff alongside wearing my red bandanna! 

And you're DONE!

Costume


Red Rockabilly Bandanna, Collectif - £2.50

Elmira Animal Print Wiggle Dress, Lindy Bop - £29.99

Seamed Stockings, What Katie Did - £16.50

Alpine Clover Patent Heels, Clarks - £39.99